
6 Giveaways That Expose an AI Headshot: the 60-Second Pre-Publish Checklist
AI headshots never lose on the whole frame — they lose on the details: the whole face is right, and one tooth gives it away.
Why a dedicated check is worth it
In 2026, paid AI headshots have crossed the line where most people can't tell at a glance — in Reddit community spotting challenges, the share of passable results correctly flagged as AI has dropped noticeably. But passing on the whole doesn't mean passing on the parts: the remaining giveaways are all concentrated in local details, and their distribution is remarkably stable. The good news is they come with a fixed list — one zoom-in pass takes 60 seconds.
Why it's worth checking properly: recruiting-industry research shows about 41% of recruiters are influenced by a candidate's photo before the interview stage (figure cited by Jobvite). A professional headshot gets zoomed into far more often than an ordinary snapshot — LinkedIn profiles, resume attachments, conference badges. Below, the 6 giveaways are broken down from most to least frequent.
Flaw 1: Plastic skin
The number-one giveaway by frequency. When pores, fine lines and natural color variation are smoothed away uniformly, the whole face looks like a waxed figurine — it's the most-called-out item in community threads, and the top source of the "obviously fake" reaction.
- How to spot it — Zoom to 100% and check whether pores and skin texture are still there; the signature of plastic skin is "perfectly even brightness from forehead to chin".
- How to avoid it — Upload originals with no beauty filter; from the results, pick the one with the least smoothing, not the most "perfect" one.
- Where it matters least — At avatar size (≤200px) it's basically invisible — but resumes and profiles open into the full-size image.
Flaw 2: Dead eyes and the ID-photo stare
The eye region is where AI artifacts hide best. The typical problem is the "archive-photo stare": hollow eyes with no smile reaching them, plus catchlights pointing in different directions between the two eyes — in real physics, highlights from the same light source should sit in the same spot on both.
| Check | Normal | Giveaway |
|---|---|---|
| Light direction in both eyes | Same direction, same light source | Left eye's catchlight sits higher, right eye's sits left |
| Pupils | Roughly the same size | Irregular pupil shapes or clearly unequal sizes |
| The gaze | Has emotion, has a focal point | "Staring into the void at the lens" — glazed and fixed |
| Sclera (whites) | Natural veins and shading | Overly clean, like it was airbrushed in |
Spotting trick: cover one eye and look at each eye alone, then both together — asymmetry is far easier to expose in a covered comparison.
Flaw 3: Teeth
Teeth are the community's named "detail killer": in generated smiling shots, the tooth count is off (one missing or one extra), back teeth blur into a white wall, front teeth lose their proportions, and the tooth–lip boundary melts together. The reason is simple — training data has few close-up smiling shots, so models handle this region far worse than eyes.
How to avoid it: don't show teeth if you don't have to. A closed-lip smile or a naturally closed mouth is the safe choice for a professional headshot and sidesteps this minefield entirely. AIHeadshotNow's 10 poses include several natural expressions with the lips closed — pick those and you skip the tooth-generation risk zone altogether.
Flaw 4: Hair edges blending into the background
The hair–background boundary is the easiest edge to get wrong: strands are either unnaturally sharp like a paper cutout pasted on, or smeared into the background in a clump — most visible at the temples and stray hairs. The check is to zoom in on the hairline and both shoulders.
Flaw 5: Ears, accessories and clothing
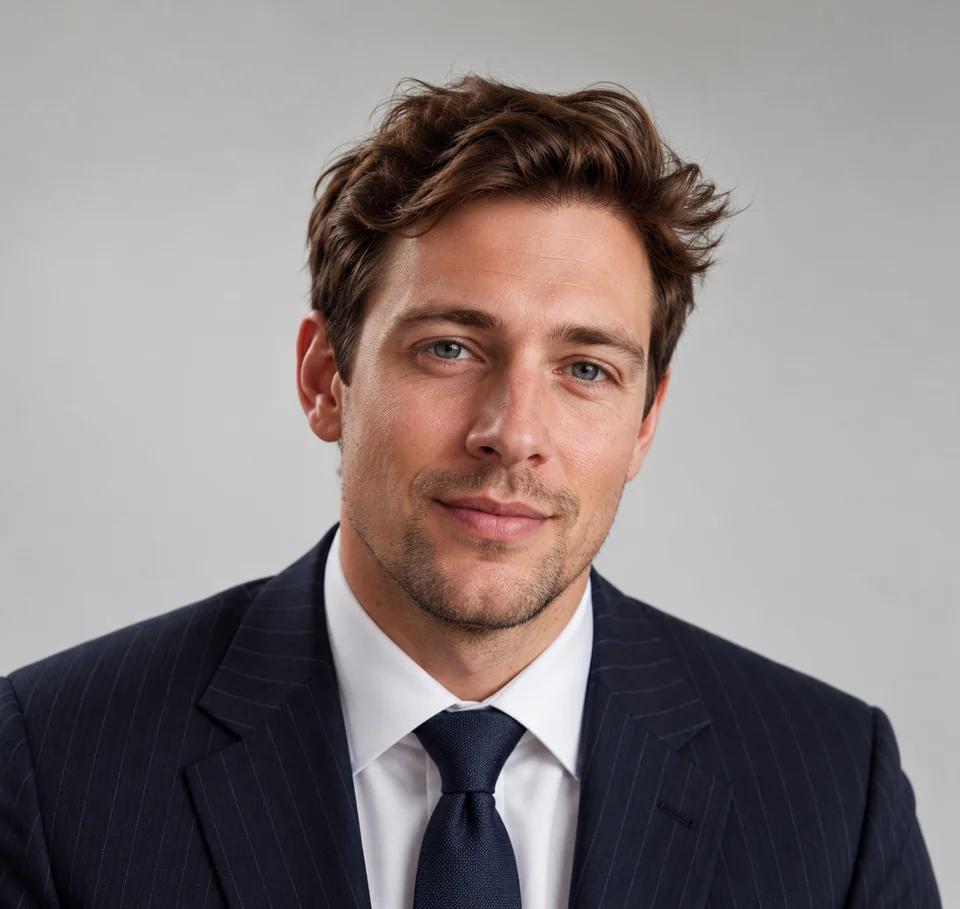
Ears and clothes are checked together, because the human eye is extremely sensitive to symmetry in both. Ears: mismatched left and right ear shapes are a high-frequency flaw in slightly-turned portraits. Accessories: an earring on one side only, a necklace that differs left to right. Glasses: warped frames, arms of unequal thickness, catchlight angles that make no physical sense — glasses wearers should keep their glasses on in the reference photos. Clothing: an asymmetrical collar, buttons out of order, a strangely shaped tie knot. Clothes are a large area, so misalignment shows even at small sizes — it outranks skin problems in priority.
| Check | Giveaway example | Severity |
|---|---|---|
| Ear shape | Left and right ears don't match | Medium |
| Earrings / necklace | Missing on one side, different styles left and right | High — symmetry flaws are the most glaring |
| Glasses | Warped frames, impossible reflection angles | High — dead center of the viewer's focus |
| Collar / lapels | Asymmetrical, one side flips up | High — visible even at small sizes |
| Buttons / tie | Wrong count, bizarre knot shape | Medium |
| Text / patterns on clothes | Meaningless garbled texture appears | High — replace the image outright |
Flaw 6: Background logic
The most overlooked category: geometric distortion in distant background objects (window frames that don't run parallel, floating furniture), repeated textures (floor tiles that repeat forever), and shadows that point opposite to the light on the subject. The signature of background flaws is that you don't notice until you look, and then they're everywhere — most people check the person and forget what's behind them.
One smart way to sidestep it: just pick a backdrop that reads as a real physical studio. Most of AIHeadshotNow's 41 backgrounds are clearly defined studio and office scenes (charcoal studio, bright office, deep navy studio and so on) with simple geometry and self-consistent light, which pushes the odds of a background error down to a minimum. For the full background-selection logic, see the what to wear for a professional headshot guide.
The 60-second pre-publish checklist
- Step 1: Zoom to 100%Check skin texture (are pores there?), eyes (do both catchlights match?), teeth (count and shape). About 20 seconds.
- Step 2: Check the edgesHairline, both shoulders, the collar — look for anything melting into the background or asymmetrical left to right. About 15 seconds.
- Step 3: Check the backgroundAny geometric distortion in distant objects, does the shadow direction make sense. About 10 seconds.
- Step 4: Shrink to publish sizeLook at it once at the size you'll actually use — confirm it holds up as a small image. About 5 seconds.
- Step 5: The friend testSend it to someone who knows you and ask "who is this?" — an instant answer means it passes. About 10 seconds.
Five steps take under a minute. If any step fails: swap in another result, or regenerate with a new set of inputs — regenerating in AIHeadshotNow takes only about 3 minutes, failed generations refund their credits, and the retry cost is too low to justify settling.
Frequently asked questions
Are AI headshots still easy to spot in 2026?
Increasingly hard overall: the 2026 community consensus in spotting discussions is that most people can't tell a paid tool's passable results from real photos, while free tools still often look obviously fake. The remaining giveaways concentrate in local details — skin, eyes, teeth, hair edges, accessories, clothing and background — and the 60-second checklist catches them all.
Do recruiters actually examine photo details?
Most don't inspect pixel by pixel, but resume screening and face-to-face interviews will expose any gap. Industry research shows about 60% of recruiters say they "can sometimes tell" an AI photo, yet almost none reject a candidate over it — the real risk isn't being caught, it's the trust crack from a photo that looks nothing like you. That's why the last item on any checklist is always "does it look like you".
Which flaws disappear at small avatar sizes?
Pixel-level flaws like skin texture, pupil detail and tooth shape basically vanish at avatar size. Asymmetric collars, missing earrings and geometric background distortion are structural flaws that remain visible when small — so they take priority.
If I find a flaw, should I retouch or regenerate?
Regenerate. Local retouching tends to drag neighboring regions along (fix one tooth, the shadow follows), while retrying a generator is already cheap — AIHeadshotNow produces a new batch in about 3 minutes and refunds credits on failures. Rather than surgically saving a flawed image, swap in a clean one.
How can I quickly tell if a photo is AI-generated?
Check the three high-frequency zones: do both eyes' catchlights agree, are the teeth normal in count and shape, do hair strands smear into the background. One anomaly alone isn't proof (real photography has flaws too), but two or three at once are near confirmation.
One last line: the flaw list isn't there to make you anxious — it's there to make you fast. Run the five steps in 60 seconds, replace what fails, publish what passes with confidence. Pick a tool with a low retry cost and self-consistent backdrops — AIHeadshotNow takes 1–3 photos, gives you 3 free 4K images, and delivers in about 3 minutes — so that "check and redo" never hurts, which is itself part of quality control.
Upload 1–3 photos and get 4K professional headshots in about 3 minutes. Comes with the 60-second checklist, so you can publish with confidence.
Generate 3 free headshots